Learn
|
Articles
|
Matilde Alves
|
13 January 2023
SageMaker & Deeploy: A non-technical introduction to help you have an understanding of what both products do. Furthermore, we will discuss the advantages and how you can integrate SageMaker with Deeploy.
SageMaker is a fully-managed service by AWS that covers the entire machine learning workflow, including the training and deployment of models. The industry offers several other platforms with similar functionalities, such as Vertex AI and Azure Machine Learning Studio. These products aim to assist software developers and data scientists in quickly developing and deploying machine learning models in no time.
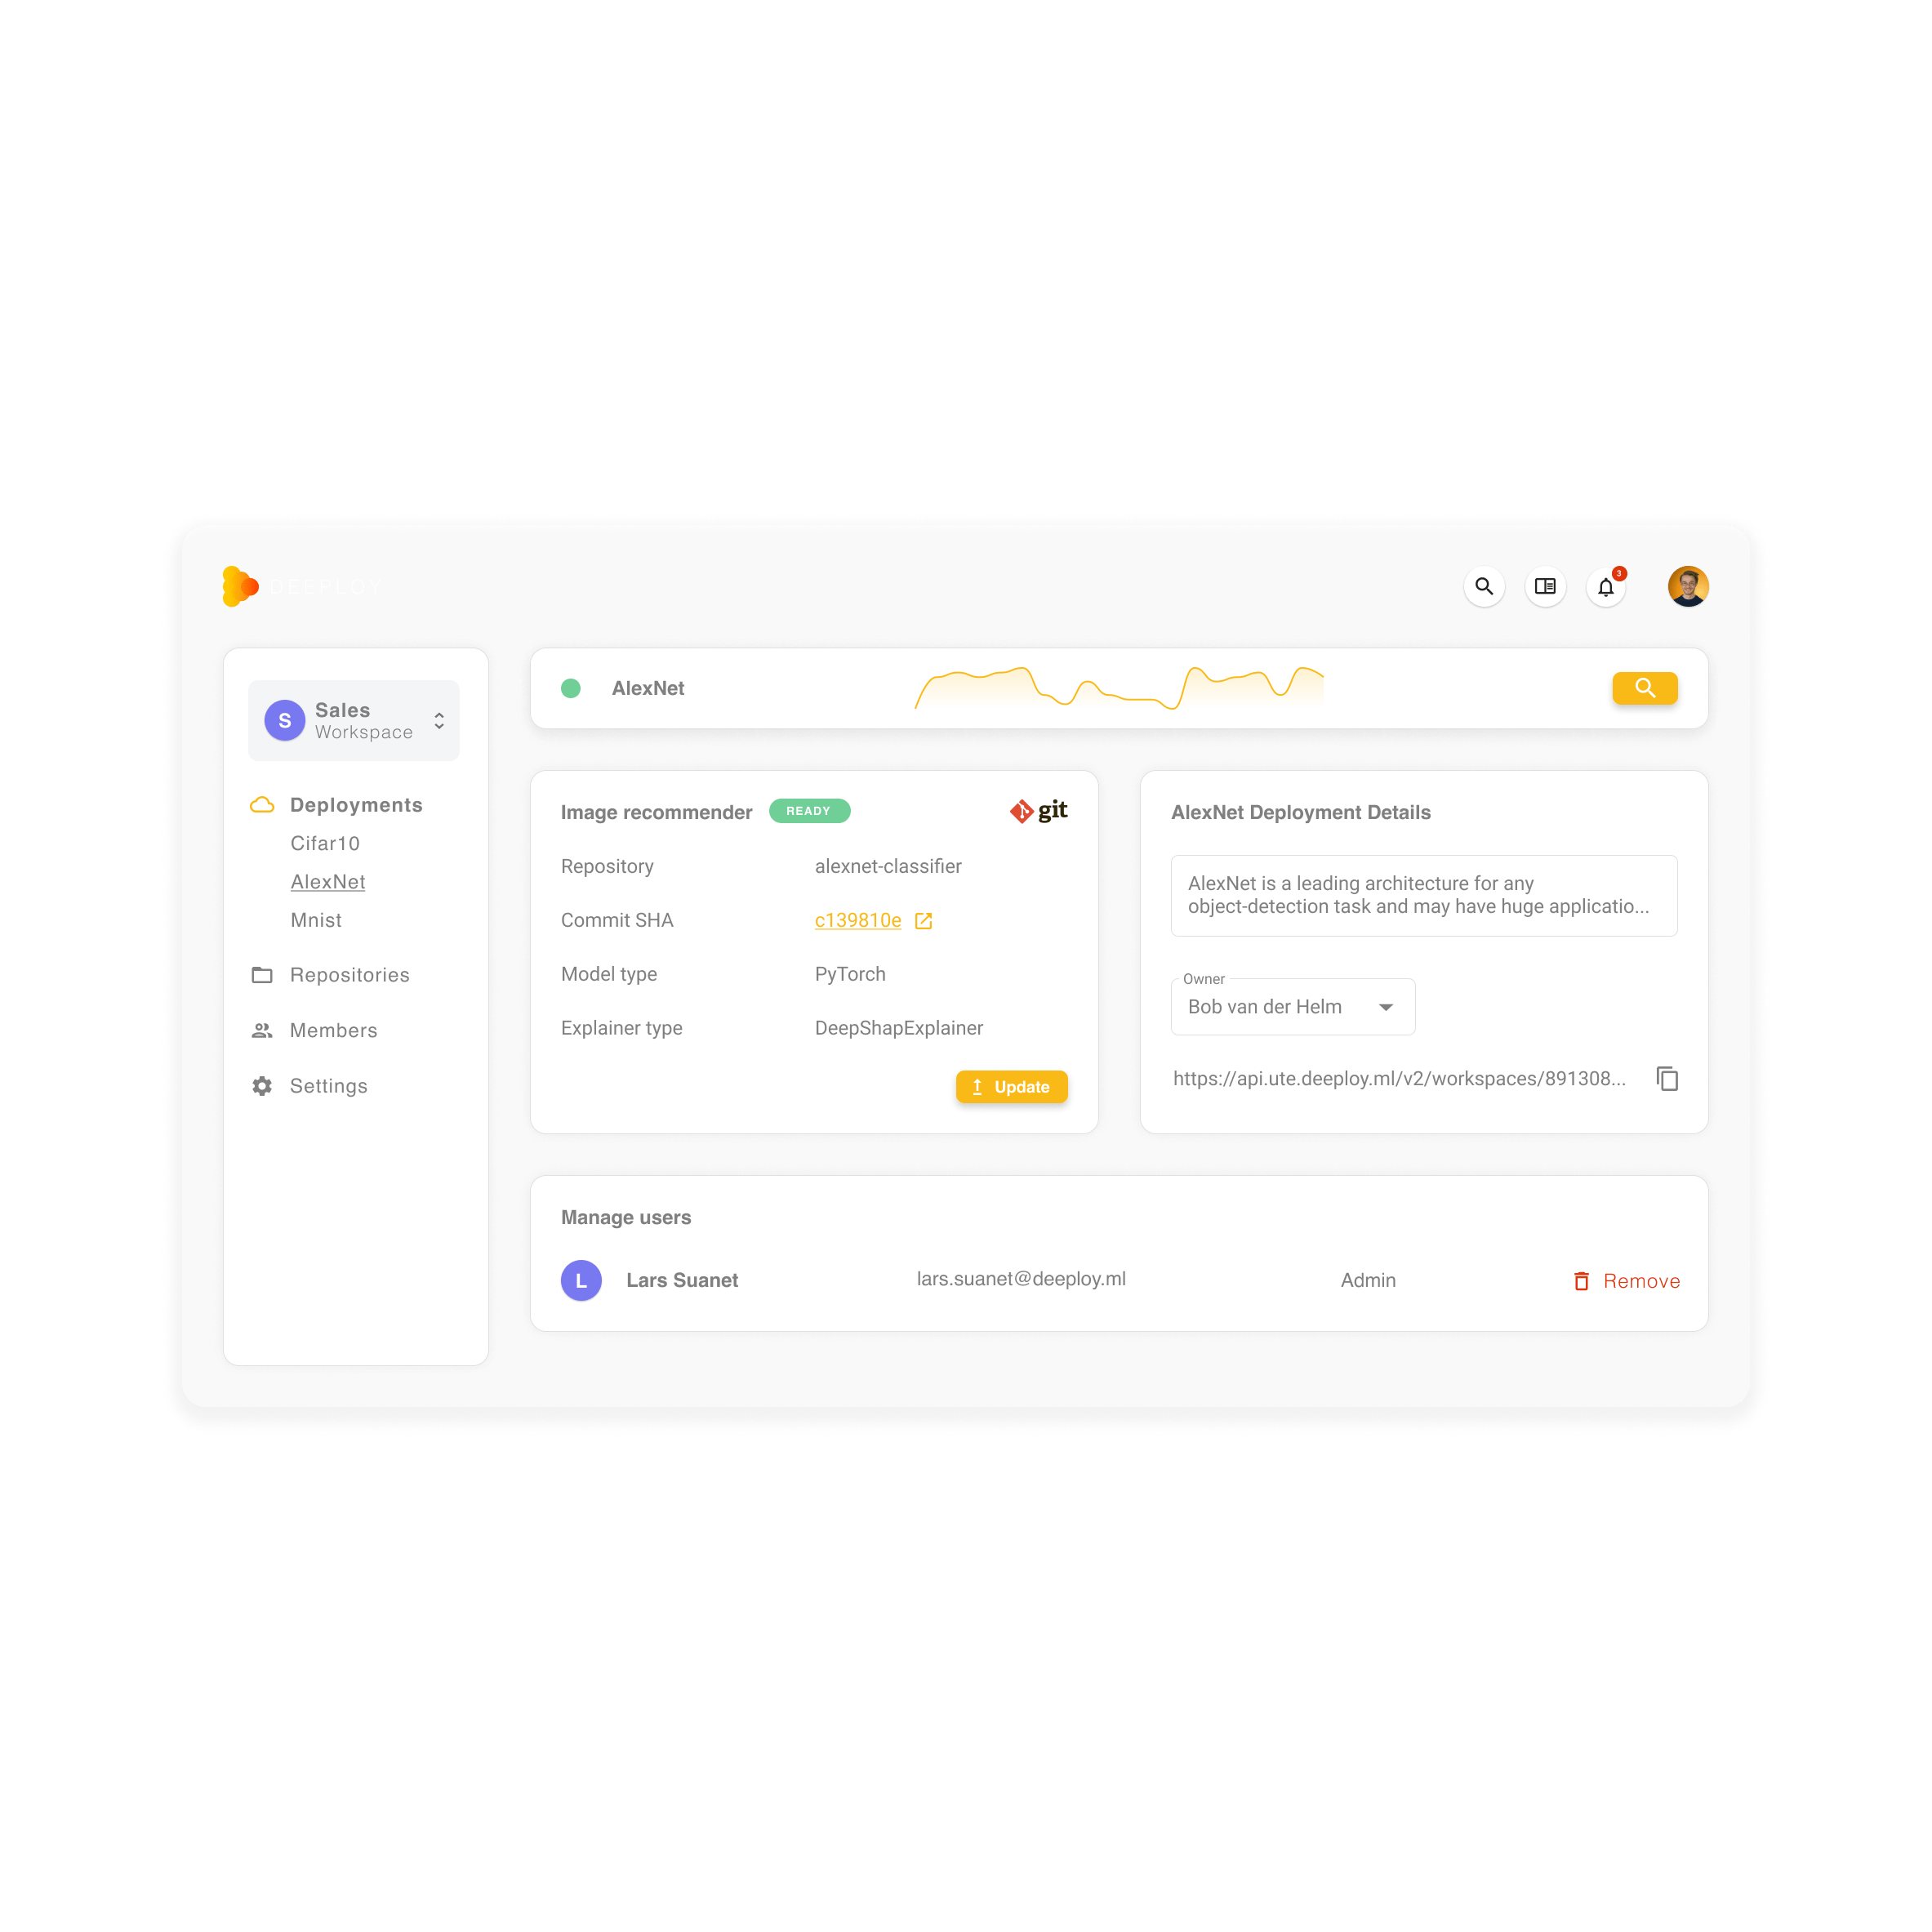
Our product focuses on responsible and explainable Machine Learning Operations (MLOps). It focuses on creating a safe and responsible MLOps environment where anyone, even those without a technical background, can explain, understand and improve AI decisions. Additionally, our product helps you trace back how certain decisions are made. In fact, this is something essential for modern companies such as neobank and healthcare companies.
As mentioned above, SageMaker will assist you with the machine learning workflow, such as developing and deploying models, but Deeploy can take you to the next level. In fact, after you’ve made your deployment with SageMaker, Deeploy will help you get the most out of it. You can now deploy your models using the Deeploy workflow directly on Sagemaker and access your models through our interface, which is focused on governing your models in production. The Sagemaker integration is particularly interesting, mainly those that are:
6 steps to follow for SageMaker & Deeploy: A non-technical introduction
After logging on to Deeploy, the SageMaker can be added via the Integrations page:
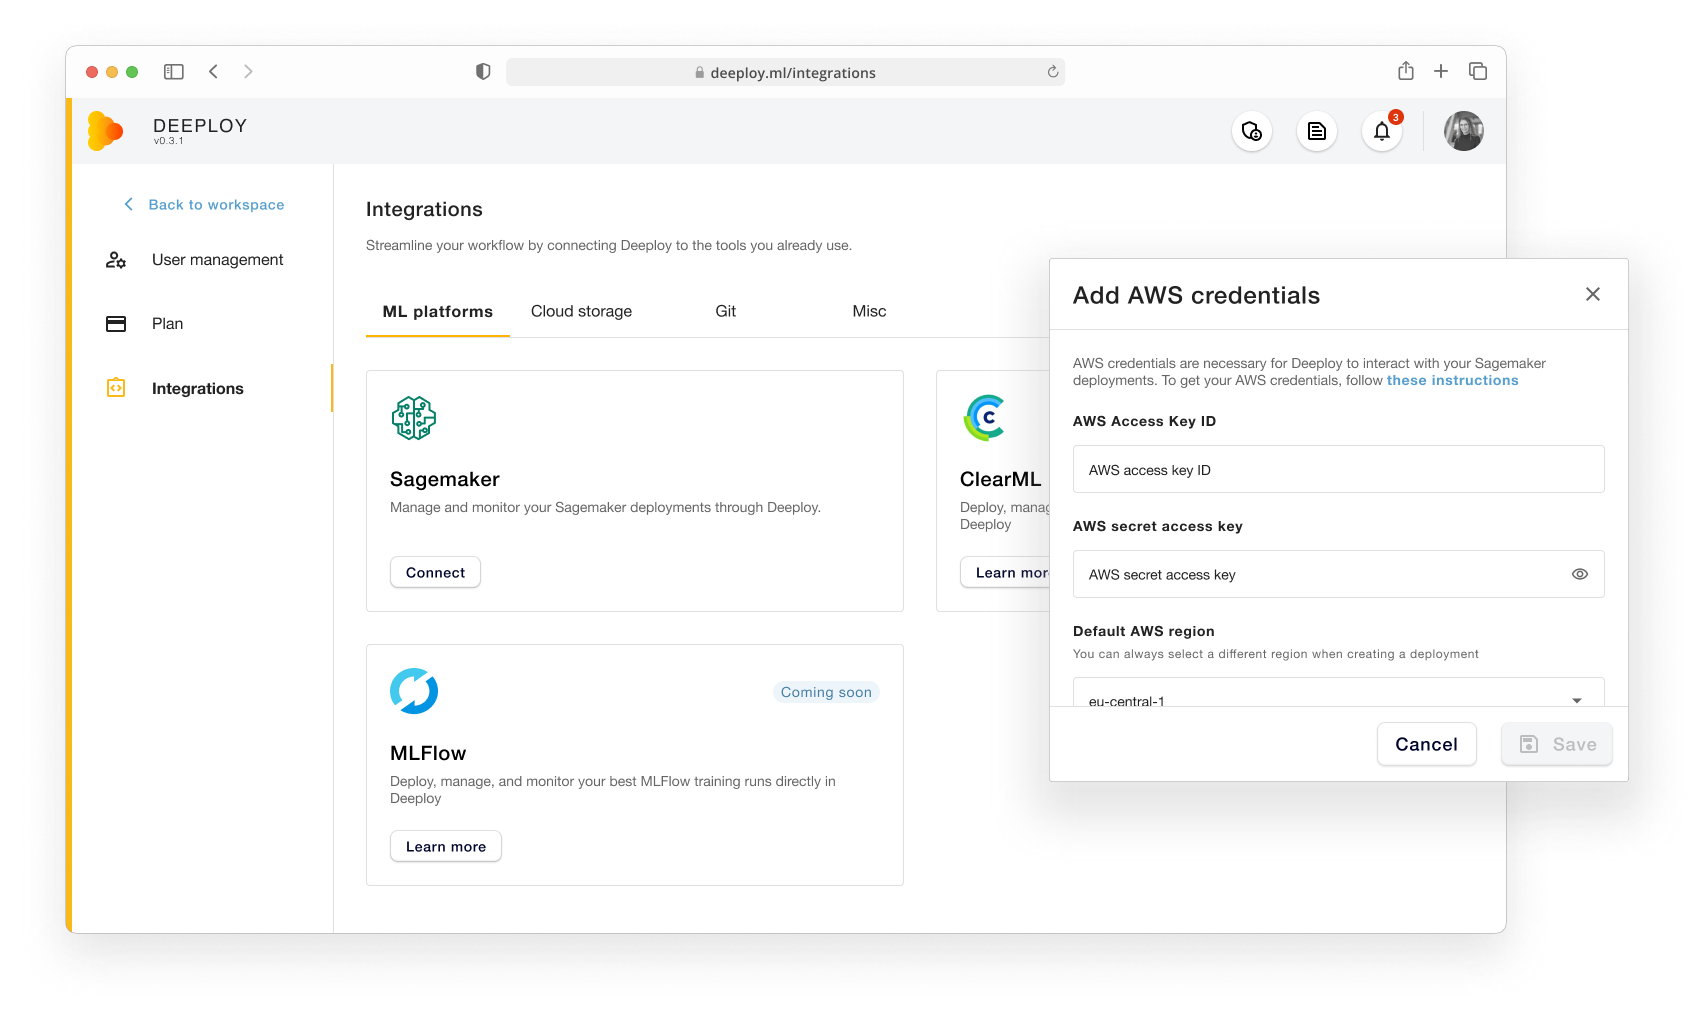
On this page, you can see all the Integrations that we currently have. Then, simply click on ‘Connect’ and enter your:
After clicking on ‘Save’ the SageMaker is connected with Deeploy.
Once integrated with Deeploy, it’s time to set SageMaker as the default deployment backend. For that, there are 2 ways you can do this in Deeploy:
Via the Workspace level
The admin can set the Deployment backend in the Workspace settings. However, if the admin doesn’t specify when creating a deployment, all deployments will automatically follow the default settings when the default deployment backend is set to SageMaker.
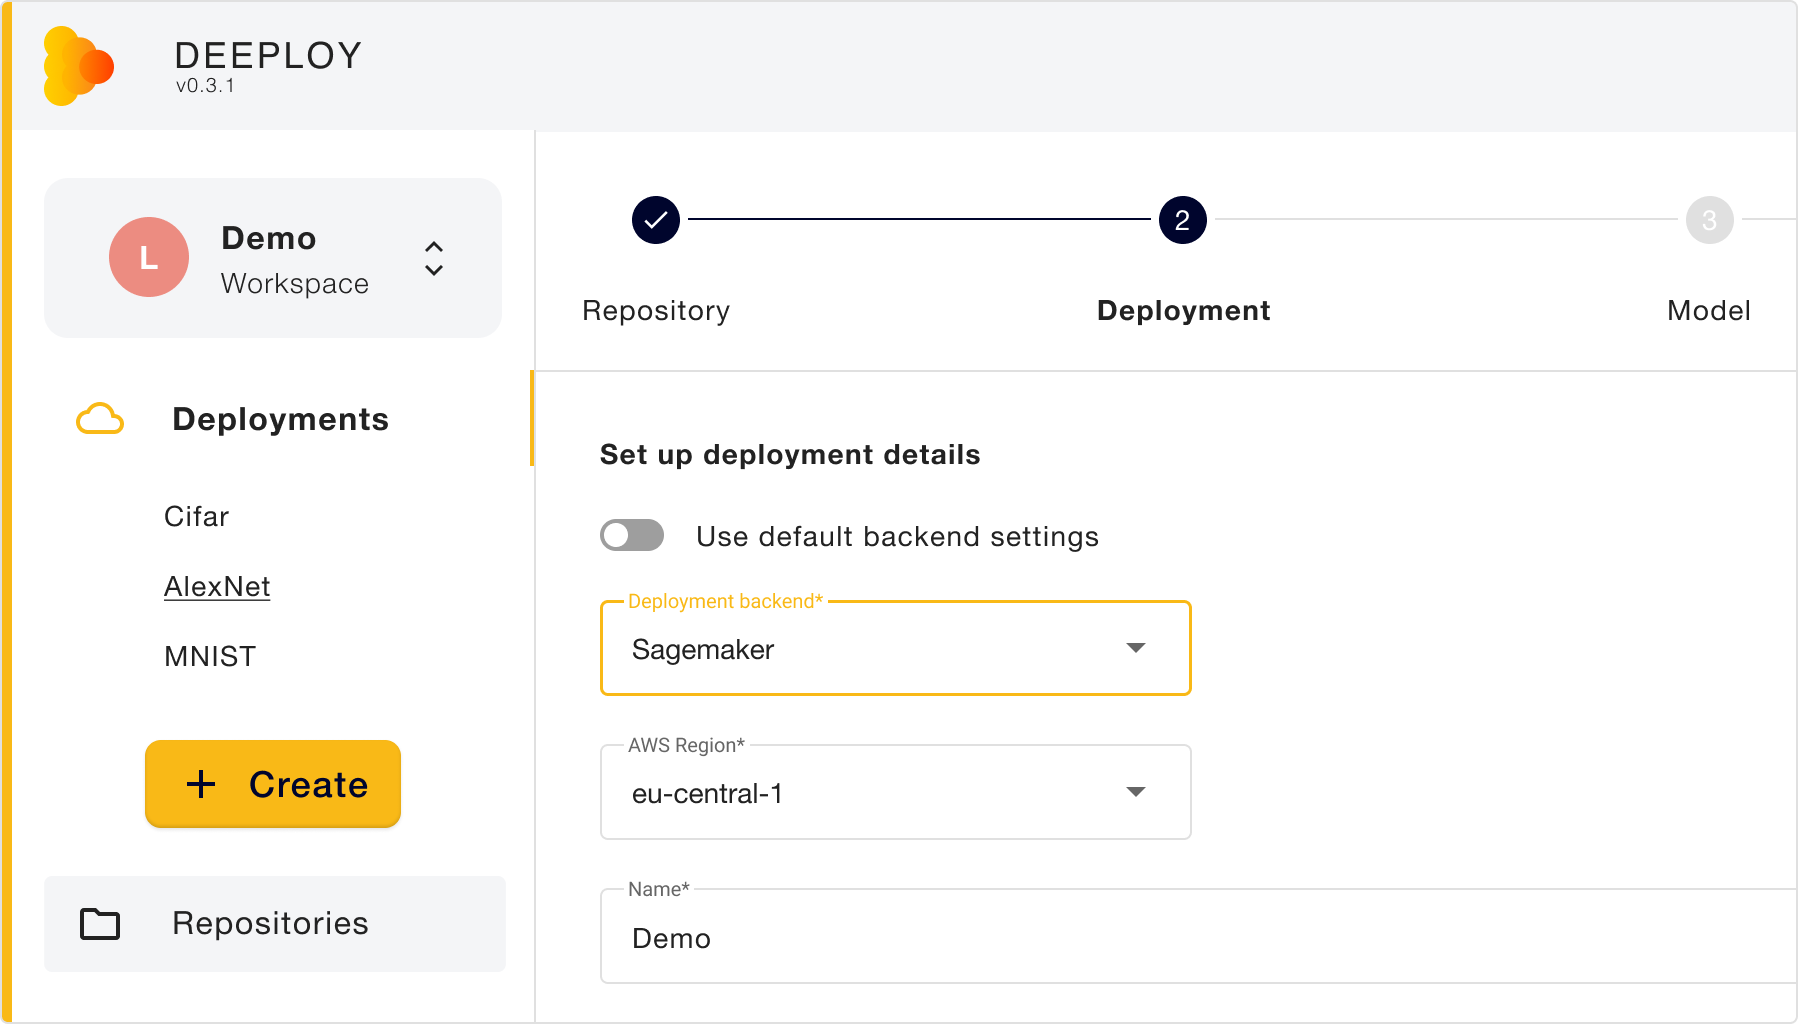
While creating a SageMaker Deployment
These settings can be edited when creating a Deployment. In other terms, you can create a Deployment using SageMaker when the default Deployment backend is set to KServe (and vice versa). To change the backend to SageMaker for a single Deployment, untoggle the ‘Use default backend settings’ toggle in the second step of the create flow (‘Deployment’), and select SageMaker from the dropdown (see image above).
Once you have followed the steps above to set up SageMaker, you can start to manage a deployment. For this example, we assume a repository has already been added. When selecting the existing repository option, Deeploy will show you the list of currently linked repositories in a dropdown. Select the repository you want to use for your deployment. The unique thing about SageMaker is that both a blob URL and docker reference can be included in a Deployment, as described in our documentation.
At present, for SageMaker deployments, the system only supports the deployment of the Custom Docker model. You can use this option to deploy either built-in or custom SageMaker images. The system has preselected the Custom Docker option and disabled the dropdown accordingly. Additionally, the system will automatically extract the path to your custom image from the reference.json file in your repository. Finally, you can use the instance type selection to choose the appropriate mix of resources for your model.
After defining the inference type, it’s time to select the explainer. For SageMaker Deployments, the supported options are ‘No explainer’ and ‘Custom Docker’. As for the model, if you choose the Custom Docker, the explainer image is automatically taken from the reference.json file in your repository.
In conclusion, it’s really simple to integrate your SageMaker with Deeploy! ☺️